LilyBakes

Look for us on Facebook! LilyBakes. Please "Like" us today!

Sunday, April 5, 2015

Banana Muffins

I had only two ripe bananas (Not enough to make Banana Bread) so I looked for a Banana Muffin recipe. I found this one and make a few tweaks suggested by the reviewer. They are light, EASY to make and they were a perfect addition to our Easter morning.


Ingredients:
Directions:
  1. Mash bananas.
  2. Add sugar and slightly beaten egg.
  3. Add melted butter.
  4. Add the dry ingredients and bake at 375 degrees for 20 minutes.
  5. That's it! 
Here are the tweaks! Don't miss these steps!! 

1. Substitute BROWN sugar for the regular sugar. (Dark or light-your preference)
2. Add Chocolate chips! I put in maybe 1/2 a cup. Use just enough that when you happen on one-it's a happy surprise but not too many that it feels more like a dessert than a breakfast muffin.


Enjoy! Happy Easter!!


Tuesday, March 3, 2015

My favorite Sugar Cookie Recipe

My Favorite Sugar Cookie Recipe


Last Fall, I bought a cookie press with the image of a Skeleton. I searched for a good Sugar Cookie recipe. It was tough to find one that wouldn't melt/spread as it baked-thus losing the image.

Skeleton Sugar cookies

I tried various recipes. To my disappointment, in order to get the image I had to sacrifice taste. While the skeleton image is cool- I still wanted a yummy cookie.  Later, for the Christmas season, I held two cookie baking parties and again we experimented with Sugar Cookie recipes.  This time the goal was not about the press but merely something the kids could decorate and be tasty. 

I was satisfied but still not in love with the cookies. (oh and let's not forget Frosting. I'm always looking for a good frosting recipe!)

Then, I went to brunch where I was lucky enough to sit across someone who worked in a bakery. (I could not WAIT to talk to her about baking! It's fascinating to me and I was excited to pick her brains!

But back to the sugar cookies. She said I should look for a Cream Cheese Cookie recipe. She said that's what they always use at her bakery. oooh I dashed home to look it up.
I found this recipe:

cream-cheese-sugar-cookies

The website not only covered this delicious (and EASY) cookie recipe but it also contains the best Royal Icing recipe (ALSO easy) I have ever found.

Here are the cookie ingredients and directions:

Dough
  • 1 cup soft butter
  • 8 oz. cream cheese
  • 1½ cup sugar
  • 1 egg
  • 1 tsp vanilla
  • ½ tsp almond extract
  • 3½ cups flour
  • 1 teaspoon baking powder


  1. Blend butter and cream cheese. Add sugar and egg. Mix in remaining dry ingredients and blend into the creamed mixture. Chill for 1 hour. Roll out dough on floured surface until ¼ inches thick (a must!) Cut with desired cookie cutter shape and bake at 375 for 8-10 minutes. Let cookies cool.


Here are the icing ingredients and directions.

  • 2 cups powdered sugar
  • 2 tablespoons soft butter
  • ¼ tsp almond extract
  • Milk to desired consistency


    1. Mix all your frosting ingredients and add some food coloring if desired. For these apple cookies, I used Wilton's Leaf Green and Red Icing colors. Frost cookies when cool. Add any desired decorations. I used some red sanding sugar on the red frosting.


    (I didn't use food coloring as directed from the original website-she was creating apples and I wanted fluffy white clouds and a white frosting under the sprinkles. You can certainly add any color you wish to match whatever shape you cut out!)

    I hope you will try these cookies. I have made them twice now and can not stop myself from eating them!!!  
    These cookies are from my daughter's 4th birthday. The theme was My Little Pony. The Cloud cookies were my favorite though she loved the ones with the sprinkles!  (something for everyone!)

    This recipe is easy, delicious AND holds it's shape. No melting or spreading as you bake. They are truly my favorite sugar cookie recipe. Do you have another Sugar cookie recipe? I'd love to share!! 
    Happy Baking!

    Saturday, January 3, 2015

    BEST Homemade Buttermilk Biscuits

    So if you have ever come over to our house for a meal or just to hang out-chances are I have made you Buttermilk Biscuits. I absolutely love to make them. My stepson, Calvin will knock down small children to get them. (Not Lily, but he did push the neighbor boy out of the way to get at the last biscuits! lol)

    Over the last year I have been tweaking my recipe and techniques. I'm kind of shocked I have never blogged about these before. Here is the recipe I use and all my tweaks to make the most BEST Homemade Buttermilk Biscuits. Your family will want them over and over!!


    I got the original recipe from my Williams-Sonoma Kids Baking Cook book.


    This little book has some of my very favorite recipes that I use over and over again.
    Here is the link to the recipe- Buttermilk Biscuits Recipe

    Ingredients:
    • 2 cups all-purpose flour, plus extra for work
        surface
    • 3 tablespoons sugar
    • 1 tablespoon baking powder
    • 3/4 teaspoon salt
    • 6 tablespoons (3/4 stick) very cold unsalted
        butter, cut into chunks
    • 1 cup buttermilk
    • Directions:
    Preheat oven to 400 degrees
    Line a baking sheet with a Parchment paper. (This is my tweak-it gives the biscuits a "crispier" bottom which is my favorite part!)

    Mix together the dry ingredients.
    Cut in 6 tablespoons of COLD unsalted butter. 
    This can be done by hand, with a food processor or with a Pastry Cutter like I use.


    Keep cutting until the butter is down to small little pieces. (Don't overwork as you want the butter to not melt completely or be cut down to nothing. The chunks of cold butter is what makes the bisuits!!)

    Next, mix in a cup of Buttermilk. I usually end up using a cup and 1/8th. (Enough to wet all the dough but not to be soupy.)  Pour out dough on a floured surface. I use a Silpat mat as it's the easiest to clean when done.  Add some flour on top and on the rolling pin. Keep all surfaces well floured as it's rather sticky.
    Roll out the dough a bit.


    HERE is the magical tip!  If you use nothing else- DO this!! I saw this on an episode of Diners Drive Ins and Dives.  FOLD over the dough and roll again. I end up folding over the dough 3 to 4 times. Don't roll it out too thin. Just fold and roll, fold and roll. THIS IS WHAT CREATES THE FLAKY LAYERS!!  I never knew this! 


    Cut out biscuits. I keep my cuts about 1 1/2" to 2" thick. Place on parchment paper on the cookie sheet and brush with Buttermilk.


    Bake for 18 minutes.  (You may have to gauge your oven's best timing-for mine I know to bake them for exactly 18 minutes.)


    Serve with some softened butter and Apple Butter! (Or your favorite jelly)
    Make some extras and save them for dinner. 
    These are delicious with a little mustard, a slice of turkey and cheese. Or save them for breakfast and top with a fried egg and a slice of bacon. You cannot go wrong!!  I have even made Honey butter by putting 2 tablespoons of butter, honey and sugar in a Ziploc bag and mixing. Then, cut off a corner and use like a piping bag! (or you can pipe it out into a small sauce cup) 


    I'm telling you these are BRILLIANT and if you have ever been to my house and had some-come again! We are rocking the Buttermilk Biscuits!!! 


    Wednesday, December 24, 2014

    Elf on the Shelf 2014


    We had so much fun this year with Lily's Elf on the Shelf, Pepper!


    This was my FAVORITE! Pepper got naughty as Lillers slept.

    Her response to seeing Pepper's handiwork was ADORABLE!


    Pepper and pals climbed the rope. Reminds me of gym class in high school!!


    Peppers friends tried to blackmail Pepper into meeting Santa. Pepper did NOT give in. Way to go Pepper!


    Take that you Alien Scum!!!!


    Poker time! I wonder if Pepper will win!


    Daddy helped me with their "hands" Poor Pepper is about to crap out.


    Lily had an ear infection. To cheer her up, Pepper colored some pictures.


    On this day, Pepper brought Lily a special Elf movie. She wanted NOTHING to do with it.
    She liked watching other stuff on her little DVD player but what was having NONE of the Elf.


    Caravan!


    Scrub a dub dub! Marshmallows in the tub!


    Monday, December 22, 2014

    Merry Christmas 2014


    It's been a busy busy holiday season! I have Secret Santa at work (for which I have been a terrible Secret Santa....MUST make amends with chocolates and a BIG gift card....),  many many fun Christmas parties, TWO Christmas cookie baking parties, and a lot of Amazon shopping. We're getting close to being all ready for The Big Guy!!

    But no matter how busy I am,  I make my greeting cards every year. This year I wanted to try something different. I used overhead transparency sheets and Bubble wrap in the creation of my 2014 card. It's different than my usual and I got some lukewarm reviews but also some good reviews. However, no matter what folks thought-I love it!


    Merry Christmas 2014

    I also decided to make all the gifts for Lily Belle's preschool teachers. They were a big hit!


    Bookmarks! All teacher can use beautiful bookmarks!!


    And journals!


    This Santa journal would inspire all manner of Christmas musings!


    A beautifully decorated Christmas tree journal to get teachers in the holiday spirit!


    Thursday, December 4, 2014

    Butternut Squash Fettucini Alfredo


    It's been a while since I did a new recipe! (or maybe took the time to blog a new recipe.)  Lately, I have gotten into selling things through our town's Buy, Sell, Trade page on Facebook. 
    I even sold our CAR!! (seriously-I posted the pics and description and in less than an hour a couple was at our house and they bought it!!) 
    Anyway, so while perusing Buzzfeed I found several delicious looking pasta recipes. 


    I HAD to try this one! 
    Butternut Squash Browned Butter and Rosemary Fettucini Alfredo
    The recipe promises it'll be ready in 30 minutes (and it was!), that it's a lighter version of Fettucini Alfredo, and has lots of flavor. All promises delivered!

    Here's the recipe:


    Ingredients
    • 16 oz. whole wheat fettucini noodles (or any other whole grain pasta you want!)
    • 4 tablespoons butter
    • 1 small onion, diced
    • 1 tablespoon fresh rosemary, finely chopped
    • 1 cup chicken stock (or vegetable stock or, in a pinch, water)
    • 3 cups prepared diced butternut squash (about 1/2 a large squash)
    • 1 cup milk
    • salt and pepper, to taste

    Cut up Butternut squash. This is about 1/2 of a large squash. This is about 3 cups.
    You can look at my previous post on how to prepare the squash.


    4 tablespoons of butter and a small onion chopped


    1 tablespoon of Rosemary finely chopped


    Allow butter to get nice and brown, and onions cooked to translucent before adding the Rosemary and about a cup of Chicken Broth


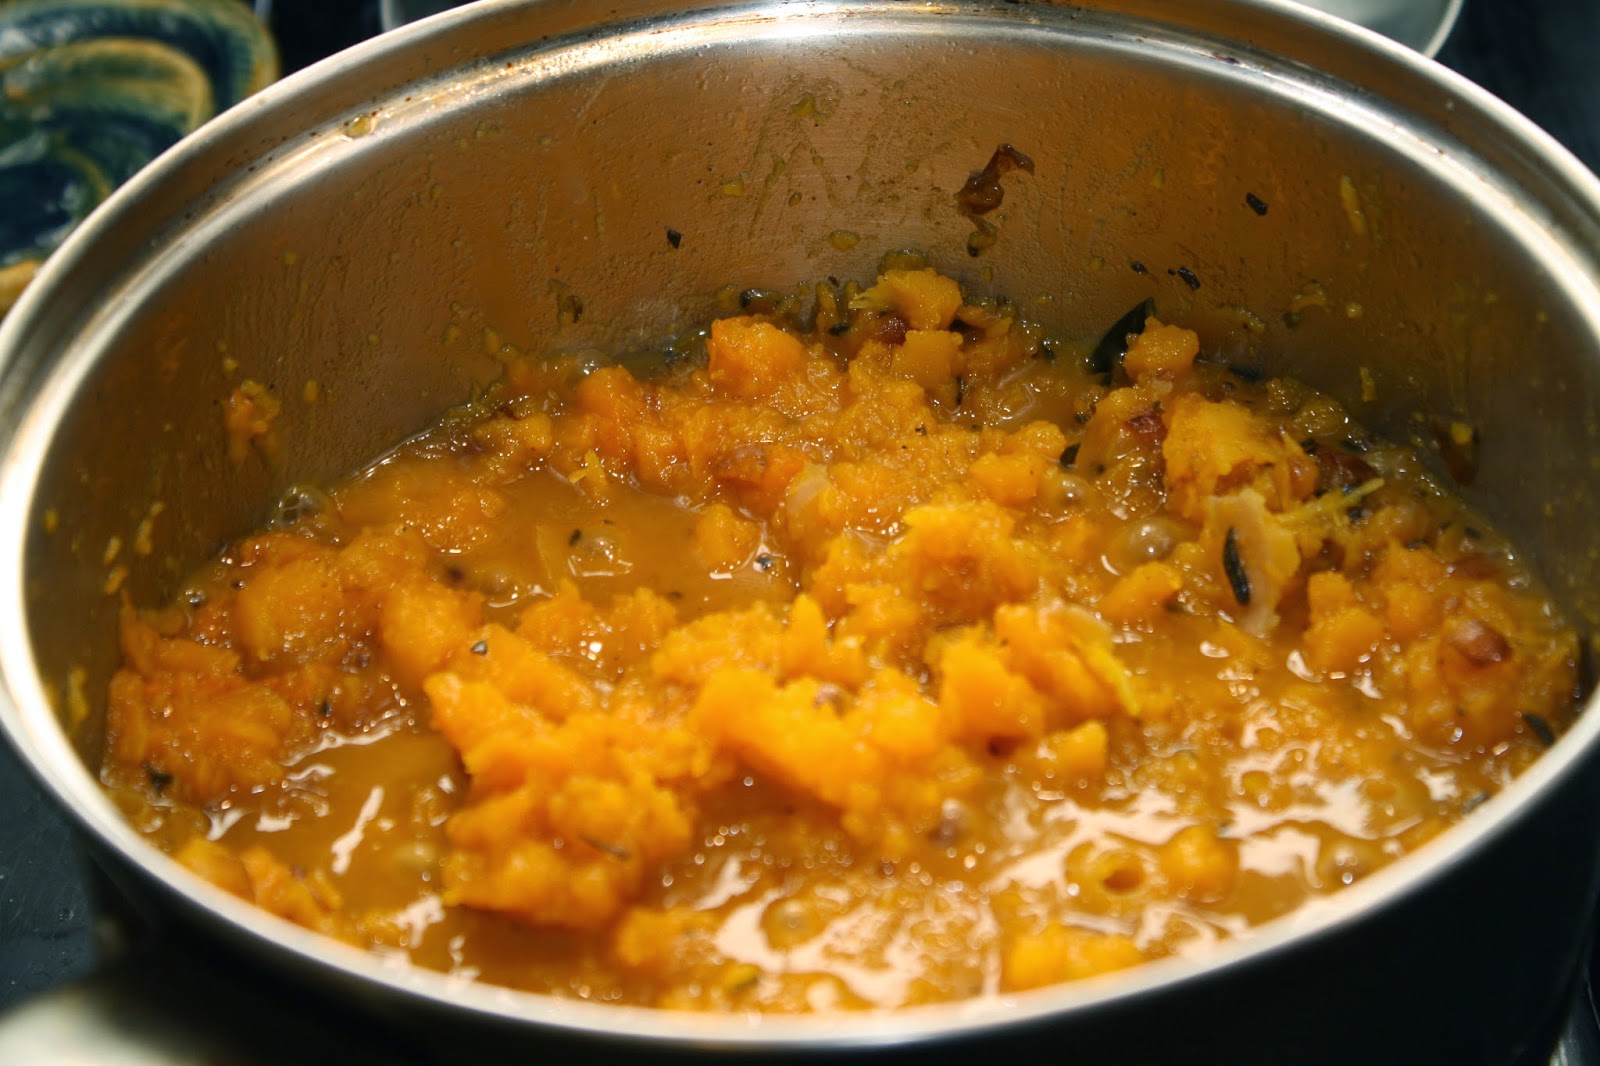
    Add the cups of butternut squash and cook on medium high heat for about 10 minutes till soft. 
    Meanwhile, make your pasta. I had on hand regular Spaghetti noodles but you can use any. The recipe uses a Fettucini Noodle but these are just as delicious!


    Once soft, mash with a potato masher.
    Add one cup of milk, salt and pepper, heat milk through and then use an immersion blender to make smooth.  (If you don't have one you can use a food processor.)


    Pour over noodles.
    The flavors are so wonderful! The browned butter, rosemary and the squash. YUMMM
    I also took it to work for my dinner and it reheated beautifully!


    If you want- you can eat it as a soup!  

    Thank you Buzzfeed! I can't wait to try more of their recipes!

    Tuesday, November 4, 2014

    Queen of the Gorillas!


    Lily-Queen of the Gorillas


    Yesterday was "Monday Funday."  On Mondays I take off work to have adventures with Lily. Usually, we are joined by my best pal, Debra and her daughter, Cari. Yesterday they were sick so we went it alone.
    We went to the Columbus Zoo and had the BEST day.
    The Zoo was practically deserted and many exhibits were closed (Heart of Africa, the playgrounds, etc) but it turned out to be a huge blessing. There were no lines, no taking turns on the statues, and lots of the bigger animals were awake and alert! NOT sleeping away the heat of the day. We saw Tigers, and bears swimming, gorillas playing and Flamingoes in all their pinkness!
    I got the best pictures I have ever taken at the Zoo because of the sunshine, the cool breeze and no crowds!  I highly recommend going on an "off" day.


    So! This picture.
    I had just bought Lily a little necklace at the Manatee gift shop. I helped her onto the gorilla and she sat proud as can be and declared herself "Queen of the Gorillas!" 
    You can bet I snapped that shot!!!

    Enjoy my Little Queen.